16mm
film is a movie film format, as was 35mm film. In the early days it was
cut from 35mm film and thus had perforations on one side (single
perforation). Please note, that the perfs and their area of 35mm are
bigger than those of genuine 16mm film. The 16mm format was rapidly
adopted by still camera producers to build smaller devices. The film
usualy sits in a cartridge, but no standard has been established, many
have 2 cassettes, one feeding and one taking. So every maker invented his
own system. Some, like Minolta, even sold a choice of readily available
film cassettes. If you want to use your camera, you should at least
have one (pair of) cassette(s).
16mm
film is still made. There
is double perf, single perf and unperforated film. Check, which one
suits your camera. Some need perfs to advance. Smaller picture formats
can use double perf film, bigger ones would have the perfs (or
sprockets) visible in the picture area. There is 10mm of usable space
between the perfs of double perf film, 12.5mm to the side of single
perf film. Film can also be s(p)lit from other formats like 120.
Below the "back" button at the bottom of the page I will show some
results from expired film.
Let's start with the Minolta cassette.
An empty Minolta cartridge. It was widely spread and it obviously later inspired Kodak for their 110 cartridges.
It's
all plastic, easy to take apart. The take-up spool is quite big as the
film is attached to it and wound by fractions of a turn, not via
perforations. So the difference in spacing between a nearly empty and a
full spool isn't too big.
You can feed any 16mm film for early
Minoltas, 10x14mm format. The later ones need single perf, the perfs
have to be at the bottom of the cartridge, towards the "bridge" between
the 2 spools. Or you feed unperfed film. Feeding film has to be done in
total darkness or a good changing bag. Cut about 45 cm (18") of film,
roll it tightly, put it into the feeding side, let some cm go out of
the slit and close the lid. Secure the lid with some tape. The rest can
be done in subdued light. Tape the first cm of film to the take-up
spool put it into the take-up side and close with the lid. Secure with
tape and you are done.
New
Old Stock (NOS) Minolta film. I even got results from the film expired
in 1973 and shot in 2019. But it was a bit over the limit, the emausion
flakes off in some areas. I developped it with Rodinal 1+25, 9 minutes
at 20° (as if it were 80 ISO) and got acceptable results. In any case
you get a reloadable cartridge.
The cartridge is protected by a sealed case.
Case open.
Minolta camera ready to load.
Cartridge in camera.
Let's continue with the Kiev cartridge.
A
Kiev cartridge, obviously inspired by the Minolta cartrigde. The first
Kiev Vega was a copy of the Minolta 16. Even the cartridges matched.
But with the Vega 2 and all later Kiev cameras, they changed the
picture format to 13x17mm, which needs unperforated film, and they
changed the core of the take-up spool to get more film into the spool.
So a Kiev cartridge cannot be used in a Minolta camera.
All plastic, as the Minolta.
Taken apart. Loading procedure as for the Minolta.
Kiev
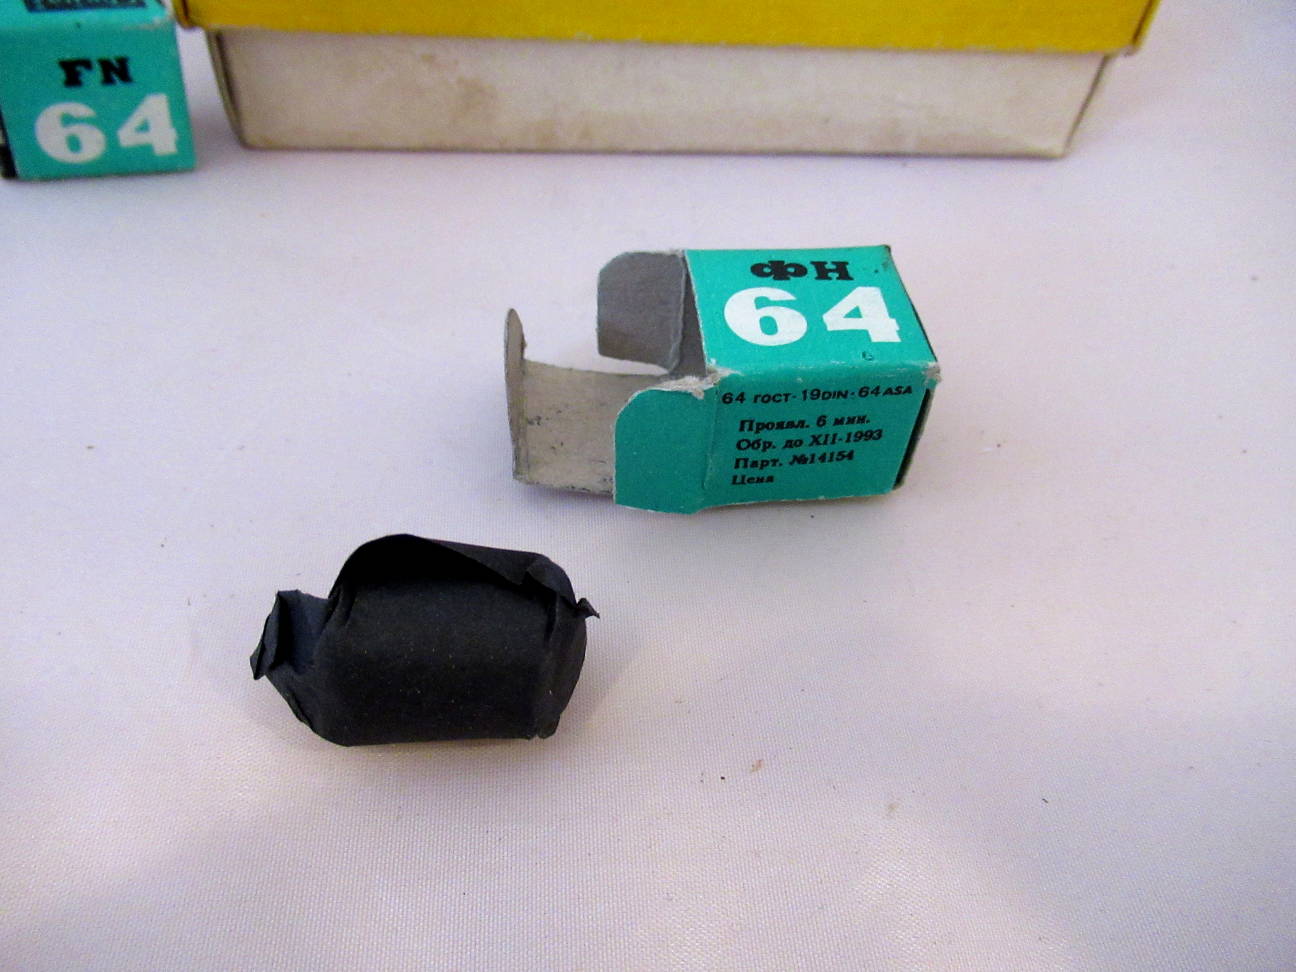
also sold 16mm pre-cut film, but it's just the film, without cartrige.
This one expired in 1993, not usable anymore (see end of the page).
Both
cartridges compared. You can easily see that the core of the Kiev
take-up side is smaller. So a Minolta cartrige fits into a Kiev, but
Kiev cartridge doesn't fit into a Minolta. I have been told that you
can swap the bigger Minolta capstain with the smaller Kiev capstain. I
have not tried it yet as I have cartridges for both.
Mamiya sold film in cartridges
as well. As most photo dealers would not take all possible cassettes in
stock, they tended to take those that sold best. It seems that Minolta
took an advantage over Mamiya, so Mamiya lost the battle about 16mm
cartridges and then sold less cameras. In the end they all lost to the
new Kodak 110 Pocket cartridge.
Let's first have a look at the Mamiya Single cartridge.
These were reloadable. In the beginning of 16mm film most people loaded
their cartridges themselves from bulk. You usually got your cartridge
back from the lab with your developped film. They look like this:
4 Mamiya metal reloadable single cartridges.
All single cartridges fit all cameras. For the take-up side you have to
open the cartridge, take out the core and slide the film start under
the spring. Then put the core back, close the cartridge and pur both
cartridges into the camera. Close, wind twice and you are ready.
As most 16mm camera producers sold ready loaded film for their cameras, Mamiya did the same and created its Mamiya Double cartridge. They are made of plastic, but can be reloaded as well. They look like this:
Some old film and an empty cartrige.
The double cartridges fit also into the old models. Eventually you have
to change a screw on the bridge between the 2 compartments to a
headless one. To reload these cartriges you will have to take the black
tape off to seperate them and prepare bits of tape to re-tape them.
Next let's have a look at at the Edixa 16.
Edixa
sold its own film in cartridges, which were technically like 35mm
canisters, film taped to to a core so that is could be re-wound into
the canister. The camera has a removable winding spool which you need
if you want to use this camera. Size-wise a Minolta or Kiev
feeding spool would fit, but you would have to deform the lid to make
room for the rewinding mechanism. The camera uses unperfed film. You
can use single perf film if the perfs are towards the top of the
camera, the camera opens from the bottom and lies on its top in the
picture above. I have not seen an Edixa cartridge yet.
Nevertheless
you can load and unload the camera in the dark or a changing bag. Put
the start of the film into the winding spool, put the spool into place,
tightly roll the rest of the film and put it into the feeding side.
Close the camera. You can even use the 2 photos before the counter goes
to "1". Do not exceed the film numbers as it won't stop at the end.
Unload in the dark directly from the winding spool to your developpment
reel.
Let's then have a look at the Mec 16 SB camera.
The Mec has 2 identical cartridges.
Mec
also sold its own film in those cartridges. The camera needs perfs for
film transport. It was designed for double perf film. Single perf film
works in mine, if the perfs are towards the bottom of the camera. In
the picture the open camera lies on its top.
Cartridges
open. You don't need to open them for feeding. You can just slide the
film in via the slit, it's guided inside. Do not cut it too long, it
might jam. If you roll it tightly before feeding, it helps a lot. As
always, it has to be done in the dark or a changing bag. Loading the
camera can then be done in subdued daylight. Don't forget to reset the
counter, the film transport stops after 24 pictures. If the counter
shows "0", the transport stops.
We have talked about reloading cartridges, but where do you get the film? One possibility is film for 16mm film cameras.
There is good advice about it on internet, just google it. The film
commes in reels, often 30m and even more. As you need only about 50 cm
for a cartridge, a reel gives you a lot to shoot.
Another possibility is a film slitter.
This lets you use any kind of film you already know from bigger
cameras. It's a good choice in my opinion. You can either slit 135 or
120 film. From 135 film you can only cut one 16mm strip. If you have a
Minox as well, you can cut a Minox strip at the same time for free. A
36 exposure cartridge gives easily 3 lengths of 50cm. 120 film is
shorter. You can cut three 16mm strips from it, but it's only about
80cm long. The remaining parts of the strips can be used for shorter
testing cartridges.
This is a special slitter, built to my needs. It cuts 120 roll film to
two 16mm strips and one 21mm strip as I own an Ajax F21 camera.
4 razor blades cut the film easily.
This is a 135 film slitter that cuts two strips of 9.2mm Minox film. From a 36 exposure cartridge you get 4 loadings.
It could also be made to cut one 16 mm strip and one 9.2 mm strip, there is just enough room between the perforations.
With 3D printing slitters are easy to make or it's easy to find someone
to do it for you. Just think about it well before you buy the one or
the other.
Both models.
As we already talked about Minox, we will at last have a look at a non-16mm cartridge, the famous Minox cartridge. It's for 8mm format on 9.2 mm film. Here they are
4 film boxes with cartridges, one is empty.
They are similar to the Minolta cartridges, capstain driven.
These are reloadable as well. You will need a film slitter to get 9.25mm film.
In general: If you need a spool for your
camera, look for offers of cheap or broken items that come with a spool
or cartridge. Ask the seller, if the interior is not shown. Single
empty cartridges tend to be too expensive. Expired maker's film can
also be a source.
I
wish you patience and perseverence loading film. Once you're used to
it, it's easy. It might help to waste one strip of film to try in
daylight and get a routine. A 30m reel gives you more than 60
cartridges. So let's enjoy these old little camera beauties.
Some results from expired film. This section might be updated if I
come across more of it. At the moment it's a very cheap scanner which
has a 16mm mask. As soon as Lomo gets a new batch of their Digitaliza
mask to be shipped with their new 110 film ready, I will test the film
and scan the photos on a better scanner. Nevertheless you can see what
you may get from old film. The scans have been reduced in size for this
page.
Minolta 16 100 ISO film, expired in 11/1973:
Scan w/o post treatment. Calais, quartier Mollien.
Scan
w/o post treatment. Calais, quartier Mollien. The film is quite o.k.
for a film which is more than 45 years old. But it has reached its
limits. The emulsion is flaking off in some areas (top, right in this
picture) and grain is clearly visible. But it's still fine to test your
camera. I developped it with Rodinal 1+25, 9 minutes
at 20° (as if it were 80 ISO).
Minolta 16 320 ISO film, expired in 1/1976:
Scan
w/o post treatment. Calais, quartier Mollien. Heavy grain, as expected.
High grade film wasn't that good in those days. High grade film doesn't
keep as well as low grade film in general. For a 43 years old film it's
fine. I exposed it as 250 ISO and developped it with Rodinal 1+25, 8 minutes
at 20°.
Scan with contrast encreased (30%). It helps but also increases the grain. It creates an extreme "blow-up" look.
Another one with contrast encreased.
Svema 65 film, 65 ISO, expired in 12/1993:
Scan
with scanner put to "lighten", but w/o post treatment. Calais, quartier
Mollien. Although much younger than the Minolta film, this is not
usable any more. All you get is a grey film base with a darker gray
picture on it. I exposed it as 50 ISO and developped it with Rodinal 1+25, 7 minutes
at 20°. Old Svema film doesn't have the best reputation. I will try another batch later.
Scan with contrast increased by 30%. Doesn't help much and makes the uneven parts more visible.